While I know this doesn't have anything to do with sewing I wanted to share with everyone my experiment.
I know everyone has seen blogs about making liquid soap from a bar of soap, and I know there's good tutorials out there, but this not a tutorial.
I tried this once before using an inexpensive bar soap, I read, that they work best when making liquid soap. Unfortunately it turned out snotty and I didn't know how to fix it. Well since then I have been doing a lot of reading and decided to try it again.
This time I thought I would try using Dr. Bronner's Castile Soap. Since I suffer from eczema, I found this is the best soap for me.
I started out with Dr. Bronner's Rose scent soap:
I used my cheese grater and started grating:
I started out with 6 cups of water and turned up the heat and stirred until the soap slivers dissolved, it looked foamy, but I took it off the burner and let it set:
It set for about 4 - 5 hours, when I mixed it, I found it was snotty. So I but it back on the burner to dissolve it and poured in 4 cups of water. It set over night.
In the morning, I stirred it and to my surprise, it was still snotty. I poured 4 more cups of water, this time I didn't put it on the burner, I took out my blender, and blended the soap mixture. It was a little more runny than store bought liquid soap, but it's not snotty. I ended up with 4 1 qt jars and 1 8oz jar of liquid soap.
I have read about people adding glycerin to their soap, I didn't add any to mine because Dr. Bronner's is already made with oils and doesn't contain any of the harsh ingredients other soaps do, I didn't think it was necessary to add anything else to retain moisture.
I think the amount of water you add to your soap, whether you have hard/soft water and maybe altitude, has a lot to do with how your soap turns out, some soaps require more water, some less, and others may need glycerin. It's all trial and error.
So there, out of a $4 bar of soap, I ended up with roughly a little over a gallon of liquid soap. You can use this liquid hand soap or body wash.
Tuesday, January 29, 2013
Sunday, January 6, 2013
Tweed Cape
This has been a project that was set aside last year, mostly because I screwed up cutting out the pattern and I didn't have enough fabric to correct my mistake. This year I decided I would just make the best of it and try to salvage what I had. I think it turned out pretty good considering my screwing it up. The pattern didn't call for it to be lined, but I decided to line it because it would make it warmer and I thought the tweed would be to itchy on the skin. I lined it with a black fleece and I'm so glad I did, it's so warm. I contemplated several options for closures since I decided not to go with buttons, because my buttonhole making skills are not the best and I wanted this to look nice, I settled on Chinese frog closures, I may change this and go with large toggles, they seem pretty easy to sew on. All in all I'm pretty satisfied with the way it turned out, I just wish I hadn't waited a year to finish.
Sunday, December 2, 2012
Self- drafted tee - final results & new pants
This is the final result of the self drafted t-shirt pattern, after altering 3 patterns, I decided I would go with a v-neck, instead of a scoop neck, I like v-neck's better anyway. Well, the first pattern I drafted the armholes were too big, and its was too snug for me. The second pattern I drafted was a still too big in the armhole and not as fitted as I like. Well, I drafted the third pattern and it was smaller in the armhole and back to being too snug! UGH! I will eventually get it right, because I'm not giving up until I do! But I do like the v-neck, although it isn't exactly centered, you can't really tell unless you look real close.
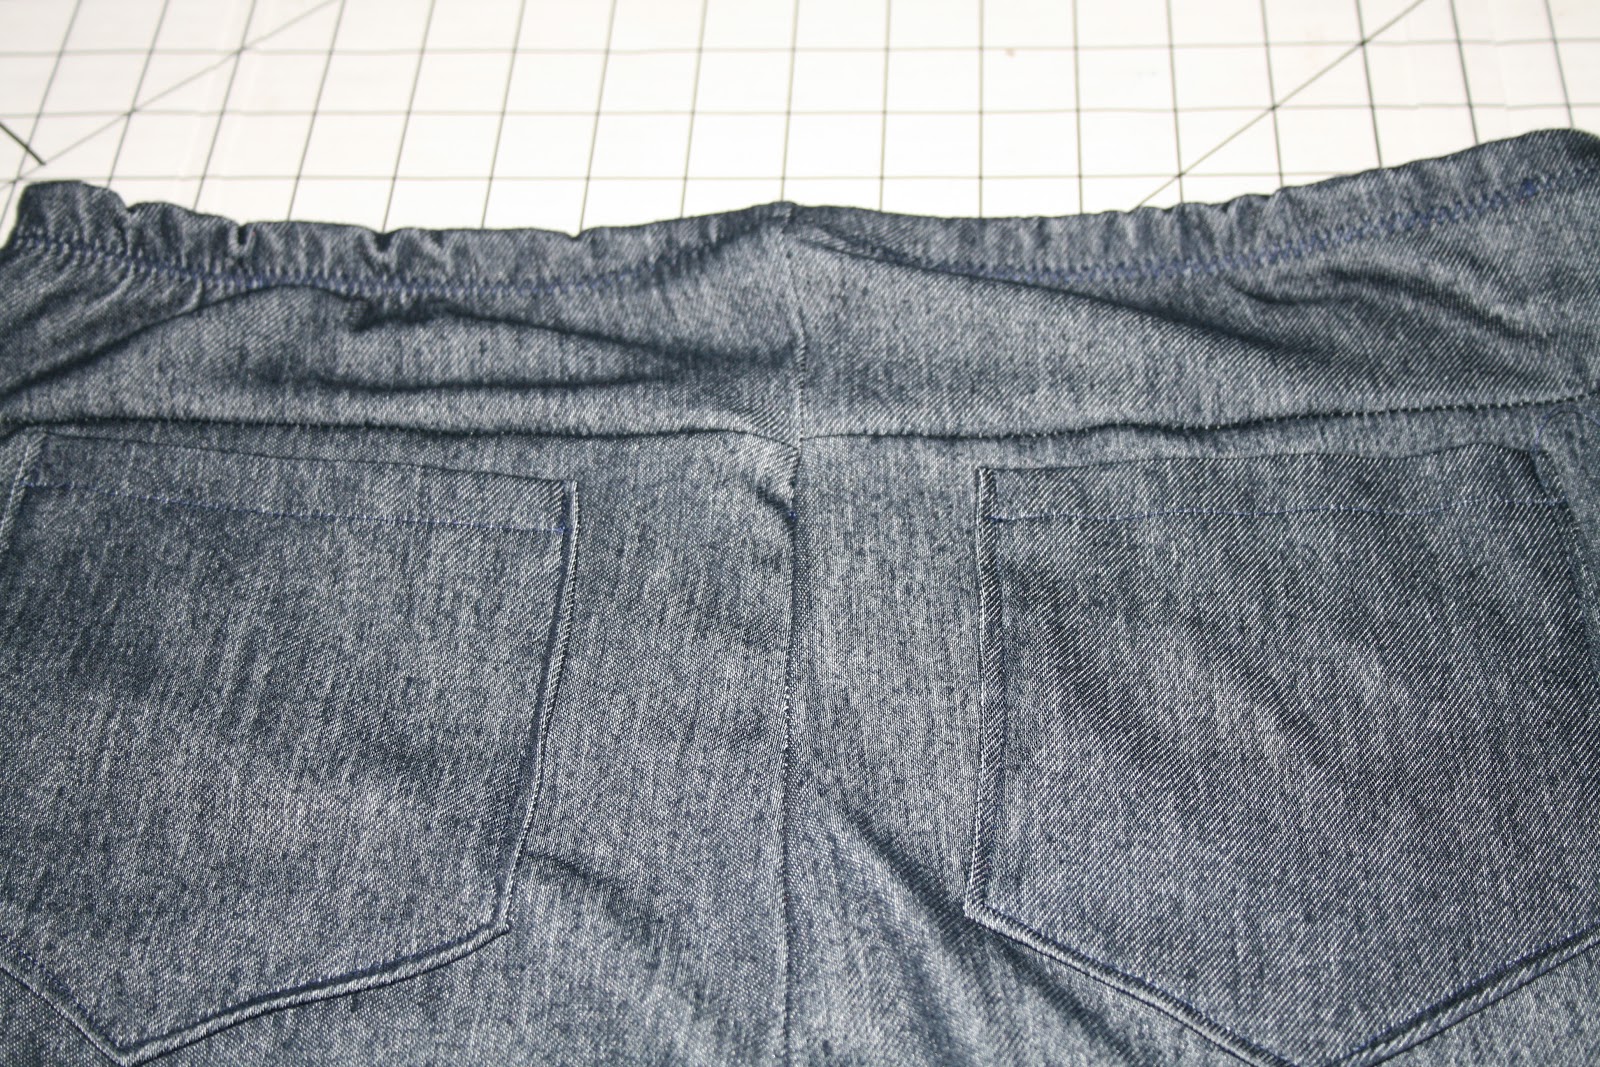
On the bright side, I bought this denim looking knit that I intended on making jeggings, well....let's just say,jeggings are not for me, it's a good thing I thought this over before actually making them. But I did find this cute pattern, I especially like the detail around the knee - two pleats in the front and a seam in the back of the knee, it includes two back pockets and a yoke in the back and the best part.... elastic waist ....right up my alley!! Because the knit is so thin, I decided I would underline them and give some weight. I'm glad I did, I think it made all the difference in the world. And they're so comfy!
Saturday, November 17, 2012
Sew-along T-shirt draft
I joined a Sew-along at Sew Country Chick, in hopes that I would improve my sewing skills. Sew-alongs are so much fun, you always learn something new and if you have problems hopefully someone has some ideas as to what went wrong, at least I hope that's the case here. I drafted my pattern of the project for this week and made a muslin. It fits like a glove everywhere but the sleeves and I can't figure out what I did wrong. I have posted pictures but unfortunately my card was full and I didn't take any with my arms down. When I put my arms down I get wrinkles across my chest, when I put my arms out to the side it feels like the arm holes are too big and it pulls up on the t-shirt. Does anyone have any ideas as to what I did wrong. I was having trouble with the sleeve cap, I kept increasing it in 1/4 " increments until it was big enough to fit in the armhole, which makes me think one of those measurements were wrong. Thanks in advance for any advice.
Sunday, November 11, 2012
Asymmetrical Leopard top
I love leopard prints I've seen in stores lately, but I've come to realize, all leopard print tops are not created equal, for example, the one I recently made for myself. I fell in love with this print at the store and I thought I'd found the perfect pattern for it, turns out I was wrong! This is what the top is suppose to look like:
This is what the top I made looked like:
Trust me this is as good as it gets! I was laughing so hard I couldn't take a decent picture. What's wrong with the top, you ask? Well let me tell you, IT MAKES ME LOOK FAT!! It feels like its twisted, I think partly because it has no front and back, the back and front are cut from the same pattern piece, and the asymmetrical sleeves gives you feeling like you made a mistake and cut
one sleeve shorter than the other. After making this top, I read the reviews for this pattern and found a lot of people had the same problem with it feeling like it was twisting on you, had I read the reviews first, I probably wouldn't have wasted my perfect leopard print on this top, but oh well, maybe I can pass it on to someone as a X-mas gift! ha! ha!
This is what the top I made looked like:
Trust me this is as good as it gets! I was laughing so hard I couldn't take a decent picture. What's wrong with the top, you ask? Well let me tell you, IT MAKES ME LOOK FAT!! It feels like its twisted, I think partly because it has no front and back, the back and front are cut from the same pattern piece, and the asymmetrical sleeves gives you feeling like you made a mistake and cut
one sleeve shorter than the other. After making this top, I read the reviews for this pattern and found a lot of people had the same problem with it feeling like it was twisting on you, had I read the reviews first, I probably wouldn't have wasted my perfect leopard print on this top, but oh well, maybe I can pass it on to someone as a X-mas gift! ha! ha!
Friday, November 2, 2012
It's my birthday!
Guess what I got today?! Ok, you'll never guess, so I'll just tell you. I got a serger for my birthday! Yay! I've been wanting one forever, I got one as an early birthday present. I"m so excited, I really wasn't expecting anything so I was really surprised when my husband and I went to the store today and he told me to pick one out. I have the best husband in the world! I can't wait to put it to use, but I'm going to have to figure it out first. It's a little intimidating but it will be so nice to figure out how it works and what all I can do with it. I can't wait!!
Thursday, October 18, 2012
Kimono Tee
I recently ran across a free pattern for a simple Kimono Tee and it's quickly becoming my favorite. I rarely come across a pattern that is simple, free and I absolutely love, and it's the type of clothing item that I actually get a lot of use out of , in that I wear tee's almost every day. I like this pattern so much, I made three tee's. I am contemplating making another one using color block, just to differentiate from the other three, but I still have to find colors that look good together. I made this tee, with a stripe front and solid back, I was thinking of adding a solid pocket to the front to kind of tie in the colors, but couldn't decide out how big to make the pocket and the placement of it. It was way too many decisions, so I decided, I would simplify the matter go without a pocket. Some of the stripes are black so I figured that was enough.
Subscribe to:
Posts (Atom)